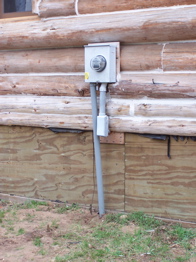
< Now it is underground skipping this box. ==>
Now it is hooked underground straight to the house's box. ==>
|
|
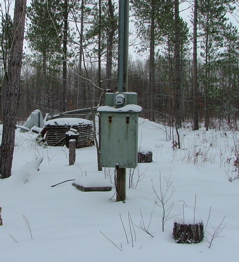
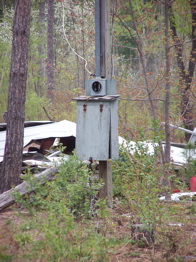
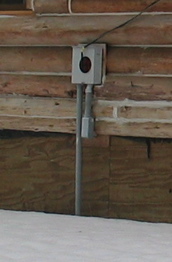
<== The house's electricity was coming from this temporary post before, < Now it is underground skipping this box. ==> |
|
|
|
<== The house's electricity was coming above in the trees before, as you see in these pictures... ==> |
|
|
|
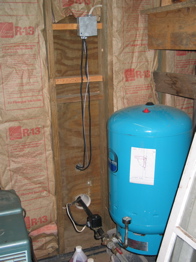
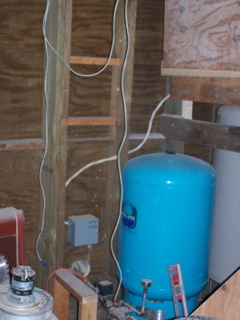
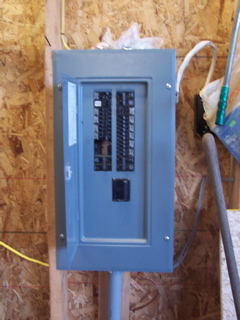
<== The house's electricity was manually stuck in this box, Now it is hooked underground straight to the house's box. ==> |
|
|
<== The garage's electricity was exposed from this junction box to where it went into the wall, Now it is solid straight to this new junction box. ==> |
|
|
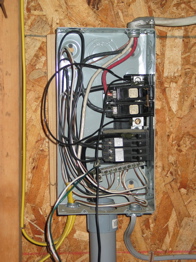
<== The garage's electrical panel was in bad shape, Now it is replaced with the house's old box. ==> |
|
|
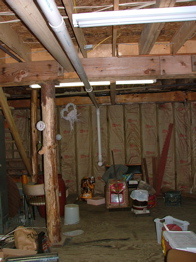
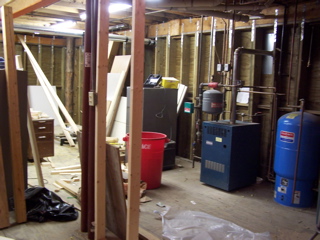
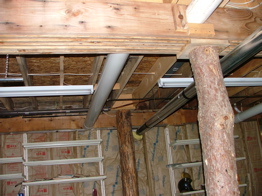
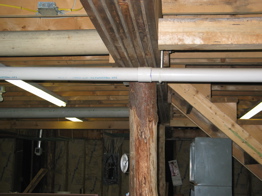
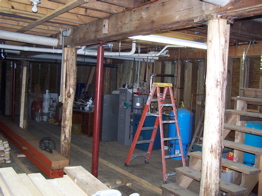
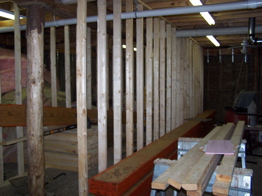
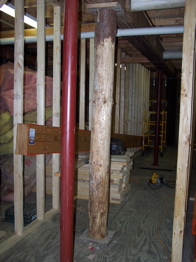
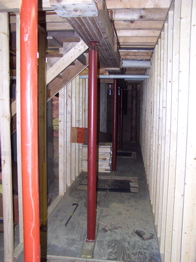
<== The left are images of the old main beam in the basement, the right are images (approx. the same as the left) of the new main beam. ==> |
|

|
|
|
|
|
|
|
|
|
|
|
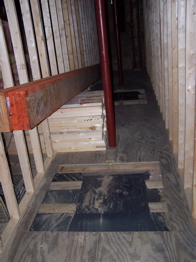
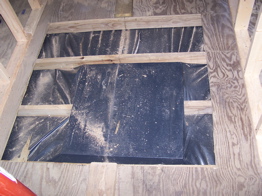
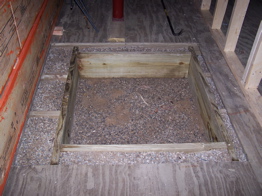
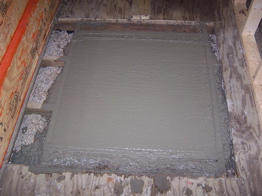
These are pictures of the progress on the new footers |
||

|
|
|
|
|
|
|
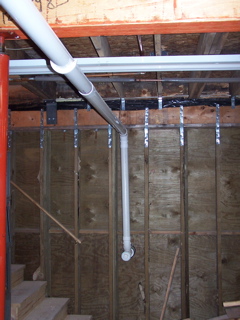
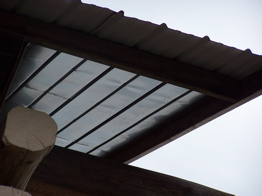
<== This is the underside of the overhang that was an open box, only supported by the purlins, this is the new boxed overhang containing the 2x6 steel reinforced box and 1 foot shorter. ==> |
|
|
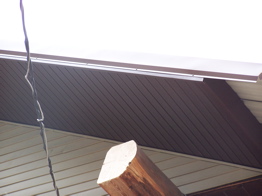
<== This is the underside of the overhang being worked on | |
|
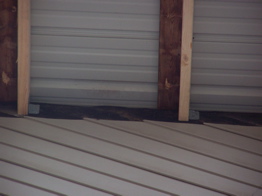
<== This is detail of the steel supports and 2x6 bracing |
| | | ||||
| <==Go Back to Step 6 | | | ==>Go to Step 8 | | | Return to Hunley Home Page |